Dated but OK content
The screen shots in this chapter are using the TwentyNineteen default WordPress template and 2019 version of plugins. The interface is slightly different now, but the process is still the same. Ignore MailChimp references in the images. I don’t recommend MailChimp for authors anymore.
In this chapter, we will add content to the pages we created in the last chapter.
We’ve covered this earlier, but for review—the minimum you need for an effective author website is:
- A list of your current and upcoming books
- An author bio
- Free outreach content
- Calls to action aimed at increasing the size of your mailing list; and
- An easy means of contacting you
We’ve already completed the last task—we created the contact form and contact page in Chapter 10.
Add Your Books
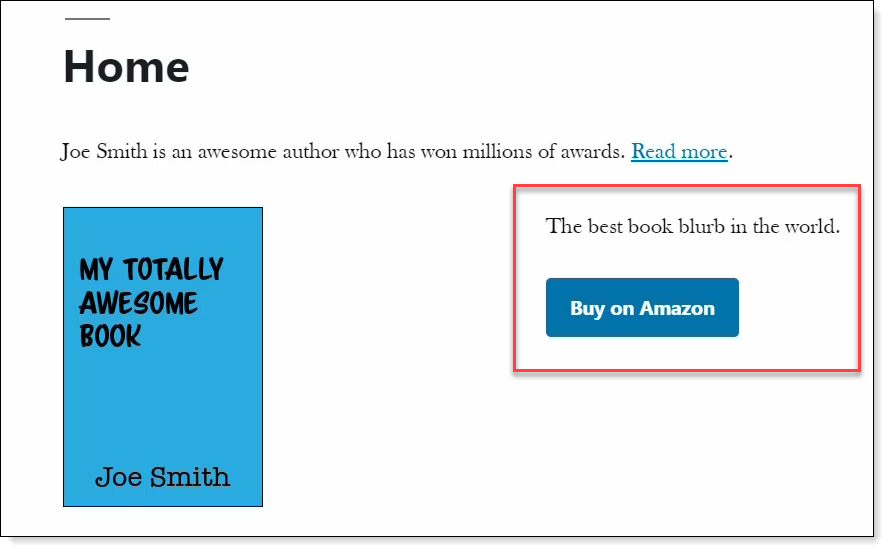
If you have more than two or three books, create a separate page for them, but as we’ll only add two books in this demo, I will put them on the home page of the site.
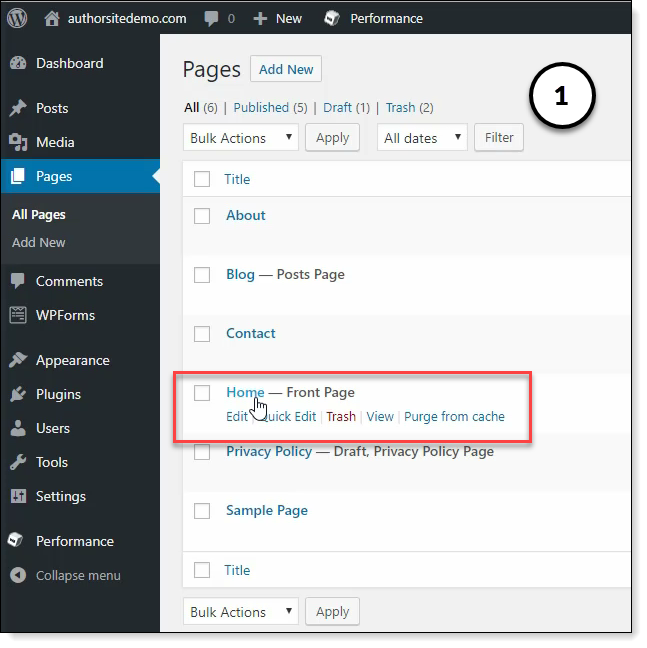
- Starting from the WordPress dashboard, click on Pages. Click on the “Home” title to open the home page for editing.
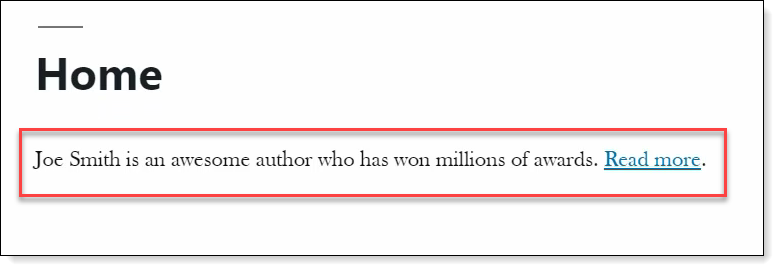
- First, I’m adding a simple intro and linking it to the About page.
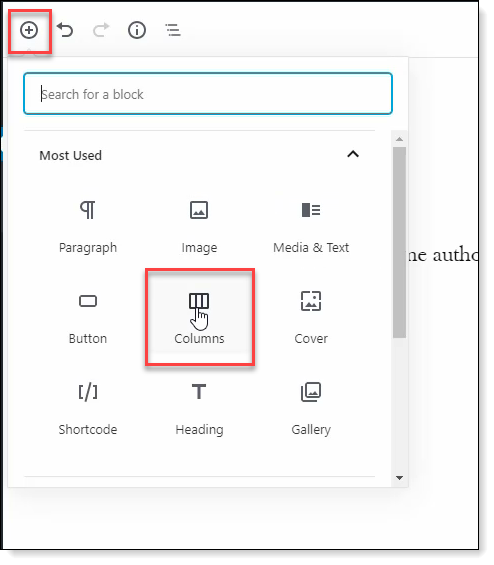
- Next, we’re adding some books to the home page. As we will have book cover images with text to the side, the best way to lay this out is with columns. Click on the plus icon and add a column block; the block defaults to two columns, which is what we want.
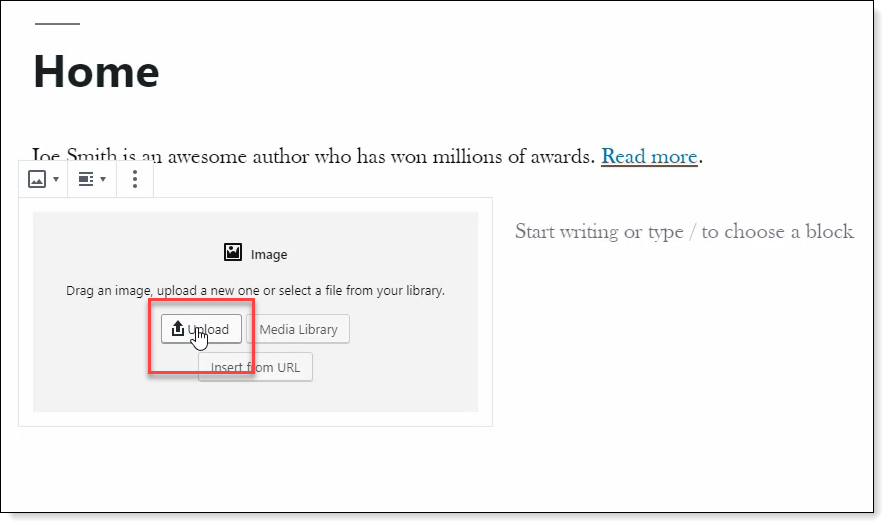
- Make sure the cursor is in the left column, and add an image block. I will upload the cover image from my computer.
- Click in the right column and add the book blurb. This is a published book, so we’ll add a button that takes the site visitor to the book’s Amazon page. You don’t have a book to link to right now, so enter a pound sign (#) in the button link.
- Repeat this process to add an upcoming book. Click on the plus icon to add a column block; Add an image block to the left column, upload a book cover, and enter a book blurb. As this is an upcoming book, we want to collect email addresses from readers who want to join the waiting list for the book. We will add the MailChimp form later in the chapter. For the moment, we’re adding some placeholder text to remind us to add the form.
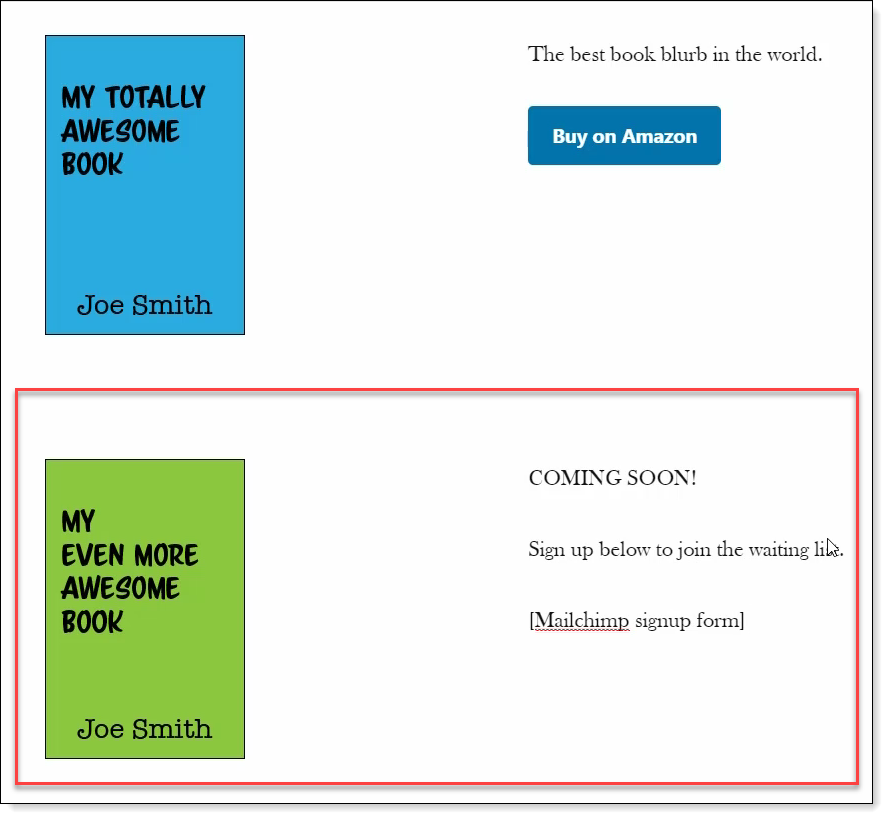
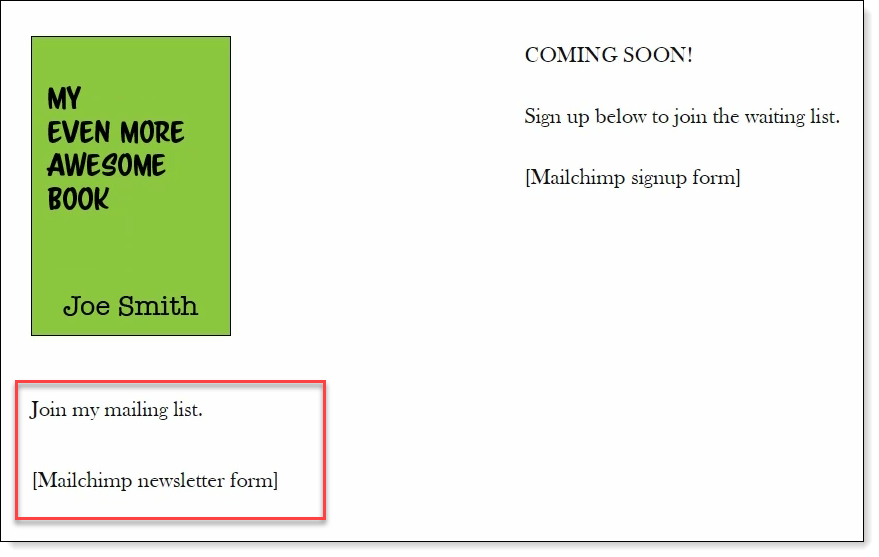
- Finally, we’ll add a short message and a placeholder for the newsletter sign-up form. We will add this form later in the chapter. Add a content block below the upcoming book, and add a message and placeholder text for the form.
- Click on Update to save the changes.
- If you click Preview on the top right of your browser, you can see how the updated home page looks to site visitors.
Update the About Page
Now we’ll add content to the About page.
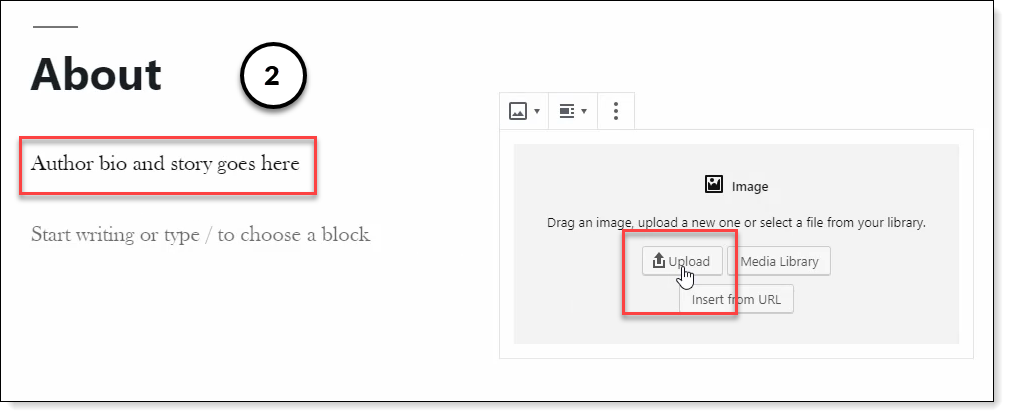
About pages can be as long or as short as you like, but they should at least have a short bio and your author photo, which we’re adding now.
- We’ll use the same two-column layout we used on the home page, so add a column block above the existing text block.
- Drag the author bio block into the left column
- Now add an image to the right column
Preview the page to see if you’re happy with the results; then update the page.
Add Posts (Outreach)
The difference between posts and pages in WordPress is you add and update posts periodically, whereas pages are static and don’t change often.
Posts are where you publish outreach content for your website.
While WordPress defaults to calling your posts a blog, it doesn’t have to be a blog. Your posts can be any outreach content you wish.
You can serialize new stories, blog a whole book, diarize your writing journey, review favorite books—anything you enjoy doing, and provides greater engagement with your readers is excellent.
You can also do nothing if you don’t have time. Remember WIBBOW? and remember that marketing time can’t exceed writing time.
If you don’t want to publish content on your site now, remove the blog link from your menu. Don’t delete the page as you might change your mind later; removing it from the menu makes it invisible on your site.
If you keep the blog and intend to post content periodically—remember the most important thing: to be outreach, your content must encourage readers to join your mailing list.
Each piece of content must have a Call To Action attached; even if it’s only a newsletter sign-up box at the bottom of each post.
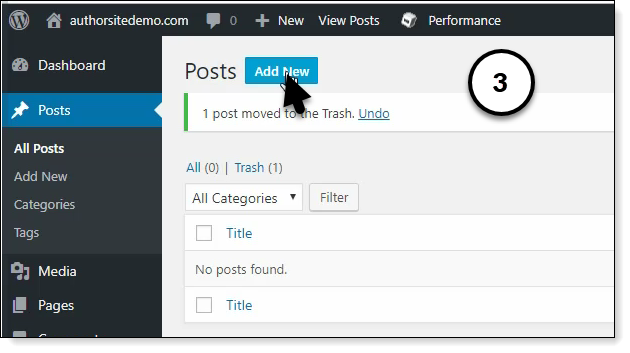
- To add a post, click on “Posts” in the left menu, then click the Add New button.
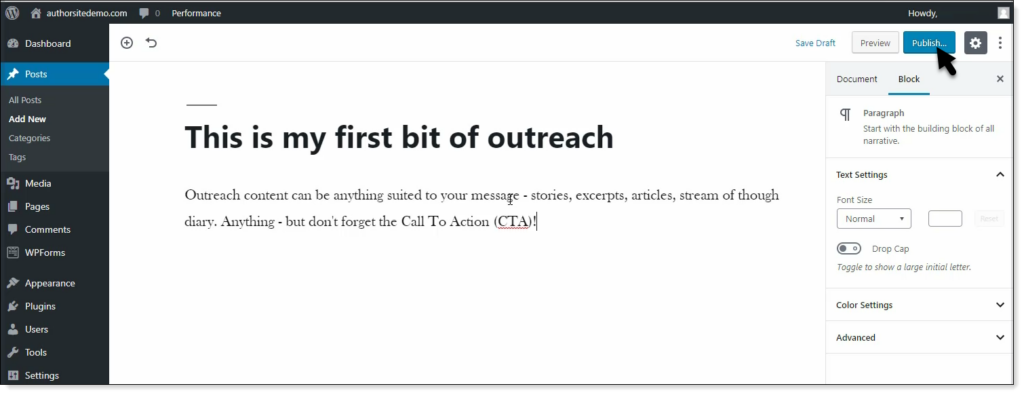
Creating a blog post is as easy as giving the piece a title and adding content. The WordPress editor is a powerful tool, so take the time to learn the different content blocks you can add to a post.
I will leave it for you to decide what your first piece of outreach content will be. Remember to click Publish when you’re finished!
Change the Sidebar Content
Now it’s time to change your sidebar content.
Click on the home icon at the top of your browser to open your website. If you scroll down to the bottom of the page, you will see the widgets added by WordPress (Comments, Categories, Meta, etc.).
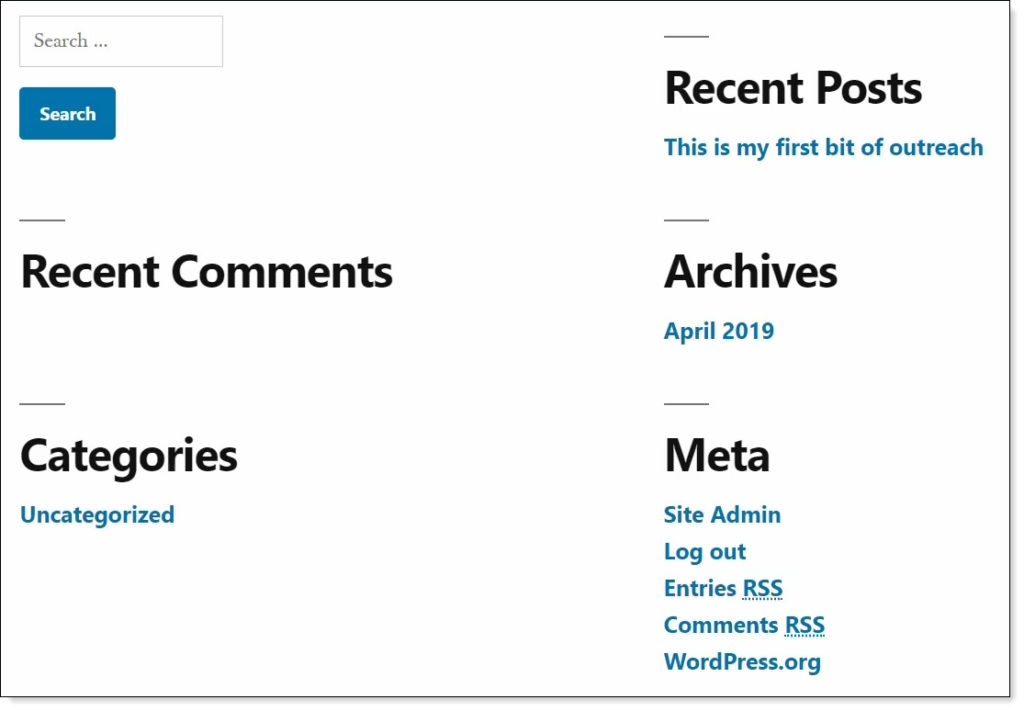
While it might not be evident in the rather pedestrian default template, these widgets show up in the sidebar of higher quality templates.
The sidebar is a great place to add a sign-up form as it shows on every page on the site.
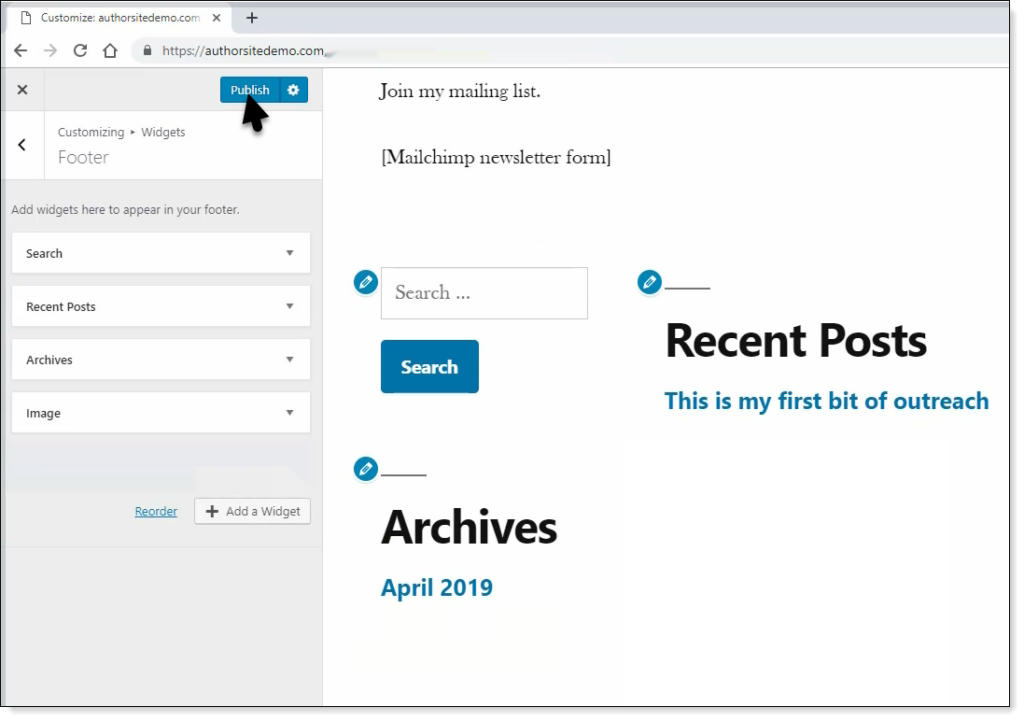
- Click on “Customize” on the top toolbar. Select “Widgets”.
- First, we’ll get rid of the widgets we don’t want to show in the sidebar. Click on the down arrow next to “Meta” and click Remove. Repeat for “Categories” and “Recent Comments”.
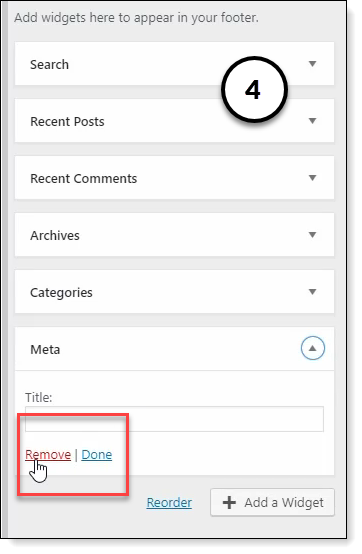
When you finish, you will only have “Search”, “Recent Posts” and “Archives” in the list.
If you scroll to the bottom of the page, you can see that the widgets have been removed. Click Publish and close the customization menu.
Change the Site Template
Next, we will replace the ugly default template for your site.
- Go back to the WordPress dashboard and select “Themes” from the “Appearance” menu.
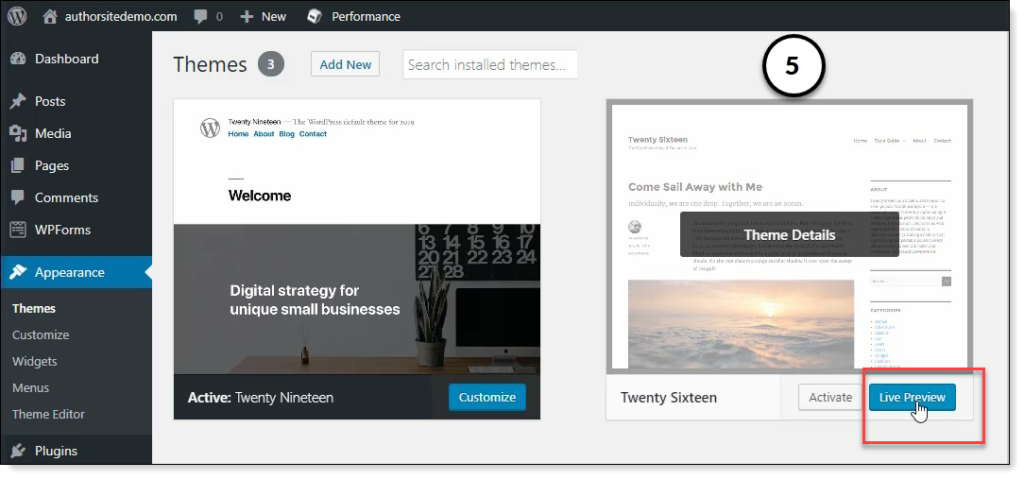
WordPress comes with a few themes already installed. To get an idea of how a theme changes your site’s appearance, go over to the Twenty Sixteen theme and click the Live Preview button.
You can see that, while the new theme is still sparse, the layout has changed completely. Themes are one of WordPress’ superpowers because, with little effort, you can make major changes to the look of your site.
And because WordPress is so popular, you also get many thousands of theme designs to choose from in the WordPress marketplace. Close the customize window and click on Add New Theme to see what I mean.
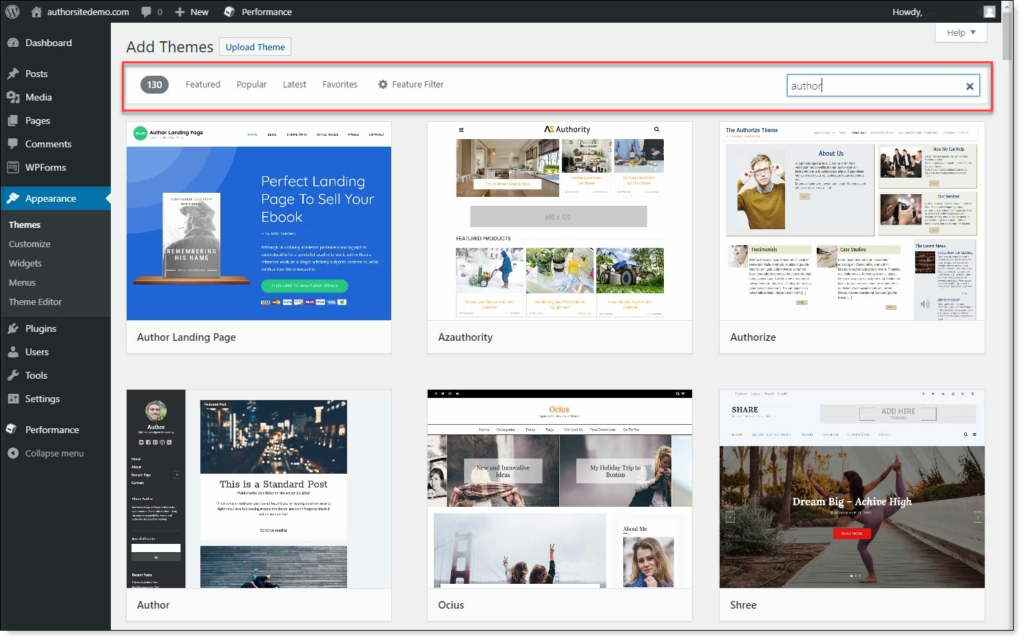
This is only a sample of the themes available. WordPress only shows themes from the WordPress marketplace—many thousands more are available in other marketplaces. If you search “WordPress theme” in your favorite browser, you will see what I mean.
You can filter templates by “Featured”, “Popular” and “Latest”. You can also search for themes using keywords.
If you hover over any of the theme tiles, you can preview the theme. If you want to try out the theme with your content, you can install it.
As this is not a WordPress tutorial, I won’t go into detail on how to install and configure themes. It would be a waste of your time and my time anyway, as you are certain to have different ideas about how your author site should look.
Now you have added the basic content, I encourage you to let Creative Brain loose and play with the themes for a while. Don’t be surprised if you lose track of a few hours because I do every time.
Remember, as long as you don’t delete or change content, you can’t break anything right now. If you wreck a theme by changing colors or mess with the formatting, switch to another theme. If you want to use the theme you broke, uninstall and reinstall the theme to reset all the settings.
For the rest of the book, I will use the Twenty Sixteen template. It’s plain, and I wouldn’t use it on a real website, but at least it’s not as awful as the default.
Now it’s time to integrate some MailChimp forms into the site so that we can collect email addresses from our readers.
Add Signup Forms
Section Removed
Back in 2019, I recommended MailChimp’s free account for collecting signups. I no longer recommend MailChimp to anyone for anything. In 2026, the best free mailing list manager for authors is Kit (formerly ConvertKit).
I’ve updated the book to show you how to set up Kit already. I’ll come back to this section and update it with a new tutorial and screenshots later.
If you want to go ahead and try it yourself, Kit has a really good tutorial on their website.
We’re finished adding content and forms to your site. It’s also the end of the chapters on setting up your author website. Your author website is the most challenging thing you need to create, so congratulations on getting this far!
In the next chapter, I will show you how to publish your books on Amazon.